Building My Own E-Reader
A Better Worse Better Kindle
Sometime in the summer of 2021, while I was working at Purdue after graduating and prior to starting my PhD, I conceived of the idea to make my own e-book reader. I liked the flexibility afforded by e-readers like Kindles and Kobos, not requiring runs to the library or bookstore hoping the book you’d like to read is available. Being able to download an EPUB (.epub) file from your local library website and instantly start reading is a modern marvel, and I’d like to be able to take advantage of it. However, I had a few reasons to pursue a homebrew solution instead:
- Commercial products are closed-source and ultimately not in the user’s control, as evidenced by Amazon’s deprecation of older Kindles. Written works are perhaps the most democratized form of knowledge-sharing available, and knowing my (digital) access to it exists at the whims of a specific corporate entity is just untenable.
- I want the function of the final product to be as plain as possible. The e-reader already is an encroachment on the very tangible, offline experience of reading a book – complex user interfaces and wireless networking are fundamentally in opposition to my idea of leisurely reading. Existing open-source solutions like The Open Book are close, but not exactly what I had in mind.
- I want to realize my own vision and have the experience of making a product by hand and from scratch. This one’s honestly just a little hubris, but I was much more excited by the prospect of doing it all myself than by purchasing a kit, assembling, and doing a lot of debugging for something that’s not exactly what I wanted in the first place.
Well, four years later I can say I’ve pretty much achieved all my goals! I built a functional e-reader where I can download an EPUB file, do a quick conversion process, upload it to a microSD card, plug that in, and start reading. I managed to assemble a functional prototype a lot quicker than that – in between work and all my other hobbies – but I spent most of the subsequent effort on improving the reading experience. In the rest of this post I’ll describe my design philosophy and the realized product, with some hopefully useful tips if you’d like to pursue this project yourself. But first, the final product:
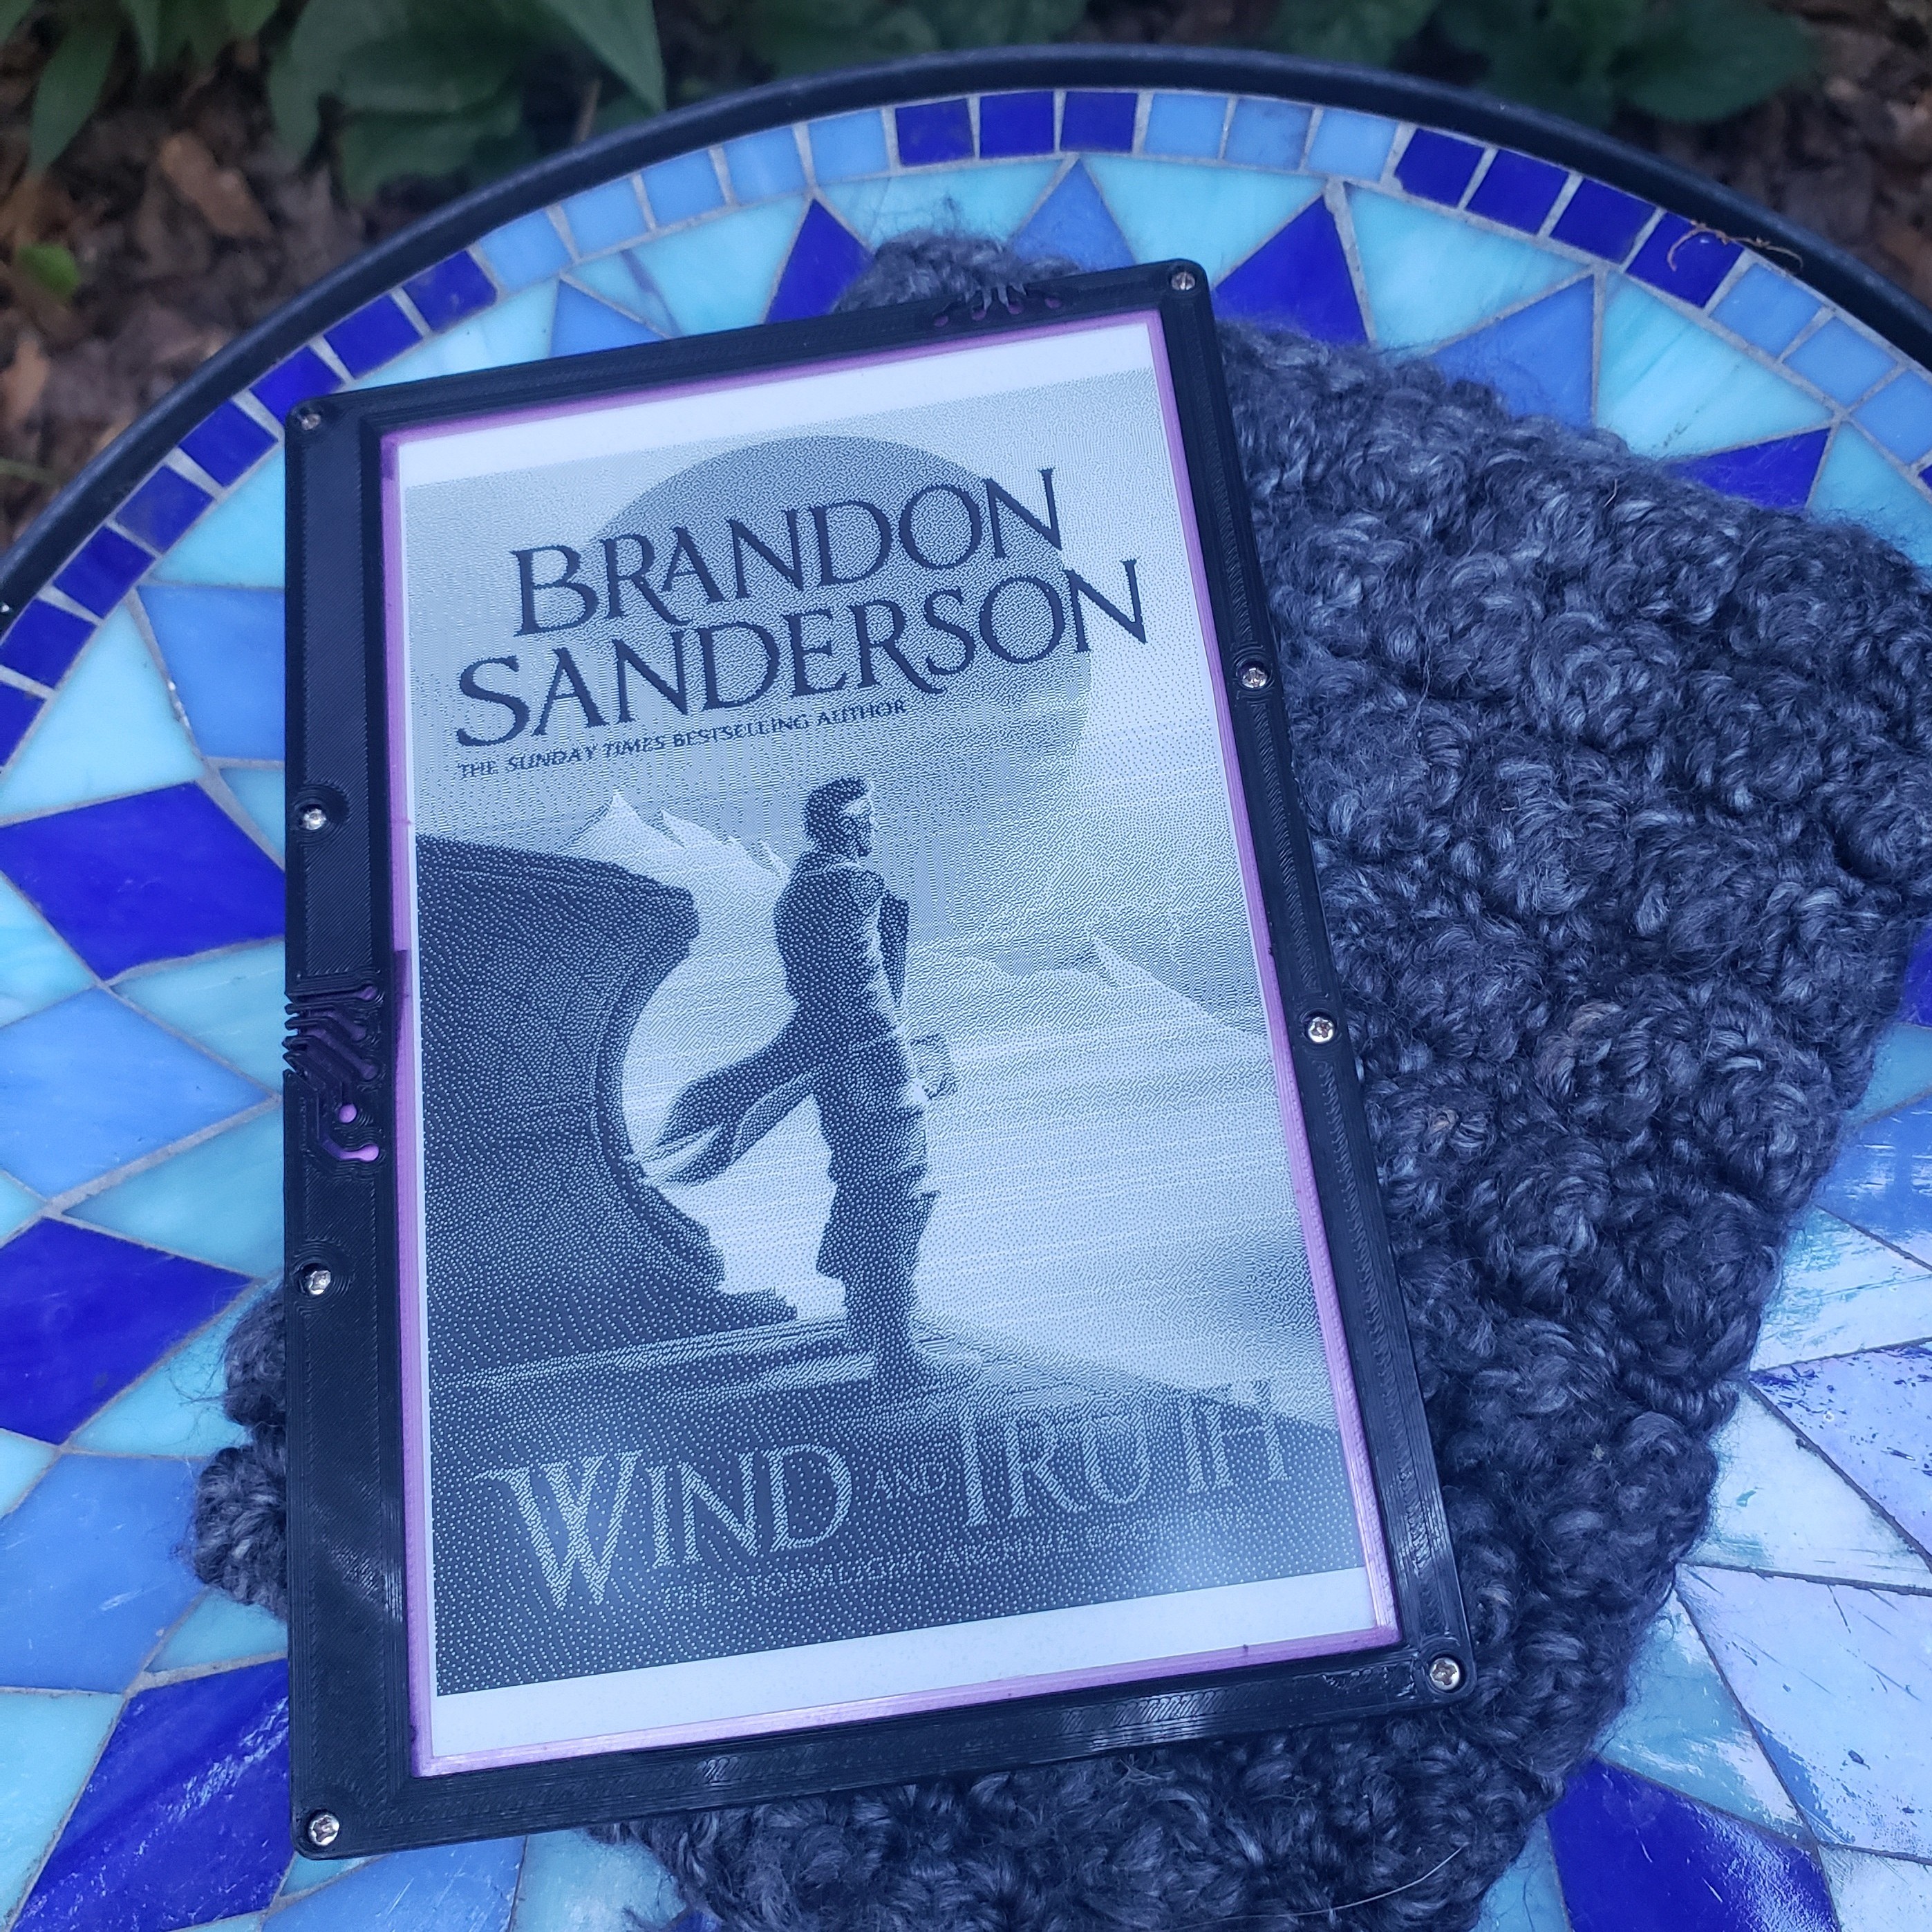
The finished e-reader in its 3D-printed case, sitting on a knit cover that my girlfriend made me.
Design Philosophy
Overall, my main goals for the project were as follows:
- Get to a functional prototype as quickly as possible. As always, the best project is a finished project; especially true in this case, as the sooner I have something that works, the sooner I can read e-books.
- Once it’s working, polish the reading experience to the level of a commercial product. Perhaps not entirely achievable due to hardware constraints, but I tried not to accept “good enough” where the user interface was concerned. This meant prioritizing screen size, battery capacity and power consumption, display formatting choices, etc. I could afford some annoyances in setting up a book to be read in pursuit of this goal, since most of my time would be spent reading.
- Minimize cost without sacrificing (1) or (2). As a student with a small income, I wanted to make this affordable. The e-paper display was just going to be expensive (especially when I break two), but I had enough spare components lying around from other projects, along with access to a 3D printer, to make the overall budget small.
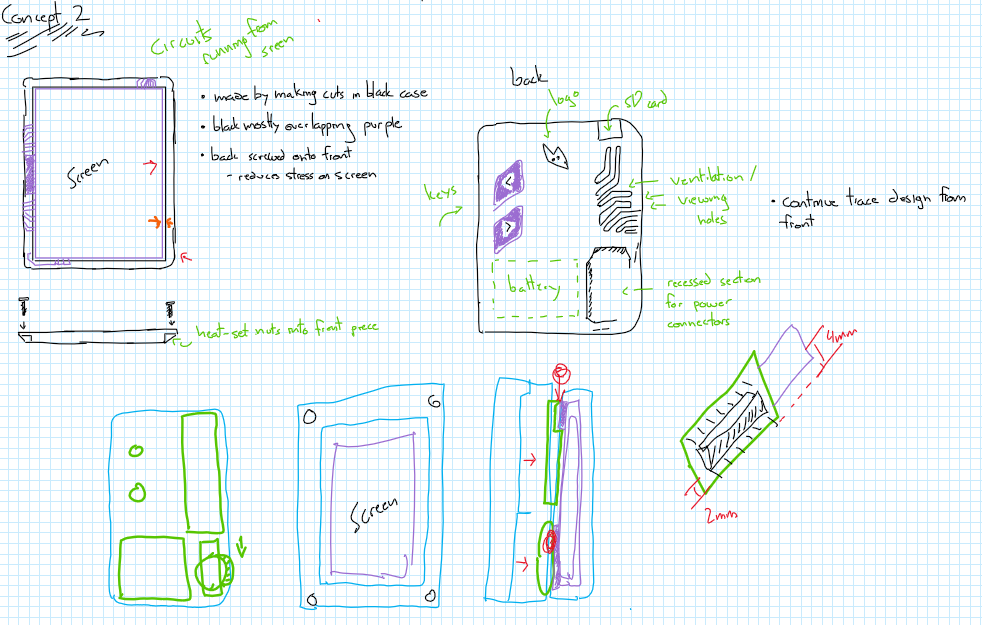
Early-stage draft of design with various notes, circa January 2022.
I wanted the finished product to exude (competently) homemade tech, reminiscent of portable electronics from the 80s and 90s like Walkman cassette players. I also love and am eternally inspired by the prop design of neo-noir and sci-fi media like Bladerunner. The user interface is basically nonexistent – there’s a big chunky power switch, some lights from the power supply and microcontroller letting you know it’s on, and two big tactile buttons on the back for next / previous page. Best of all, it just works.
Hardware
This project centers around an e-ink display and corresponding ESP32 driver board from Waveshare. They also provide some driver code to interface with their displays, which means you don’t need to write all the SPI interfacing commands using the datasheet. Some other options exist – such as from LilyGO – but these are either too small of a display for my liking or are Hats for Arduinos or Raspberry Pis, which would make the final form factor of the e-reader too thick. I wanted a large display to make it feel more like a book in terms of content I can fit on a page. Commercial e-readers use displays that can perform parallel refreshes, which happen much quicker (sub-second) than the serial refresh on the tier of display I’m using (2-4 seconds); parallel displays are available, but are significantly more expensive and use Pi-based driver boards rather than ESP32-based. Refresh time scales with display size, so a smaller display would also update quicker. I’ve trimmed some fluff in the driver code and am happy to wait a couple seconds for the next page – I find it doesn’t really interrupt the reading experience. Avoid color displays, since they take much longer to refresh than the same-spec black-and-white display.
I power everything using a portable battery bank from 5 Below that I gutted and soldered directly to my power switch. I use one of those inline lamp cord switches with the wheel that I got from my local Ace Hardware since it was the quickest option. Plus it’s a bit of a fun, tactile experience to flip. A full component list is below:
- 800x480 7.5in e-ink B/W display
- ESP32 e-ink driver board
- Inline rotary cord switch, like this one
- Low profile power bank; I used this 6000mAh one
- An SPI microSD card module
- Two momentary pushbutton switches
- Protoboards, wire, solder
- A 3D printer and filament
I designed all the case components in Solidworks and printed them on my Creality Ender 3 V2. I aimed for a relatively slim design: the bezels around the screen are small, the footprint isn’t much larger than the screen, and it’s as thin as I can get with the development boards I’m using inside. There’s a purple TPU sleeve that the display sits in to protect it since it’s just a raw panel and the bezels are so thin. The clamshell around it is generic PLA; I’m halfway through reprinting it out of some black PETG I have on hand to make it look a little better though.
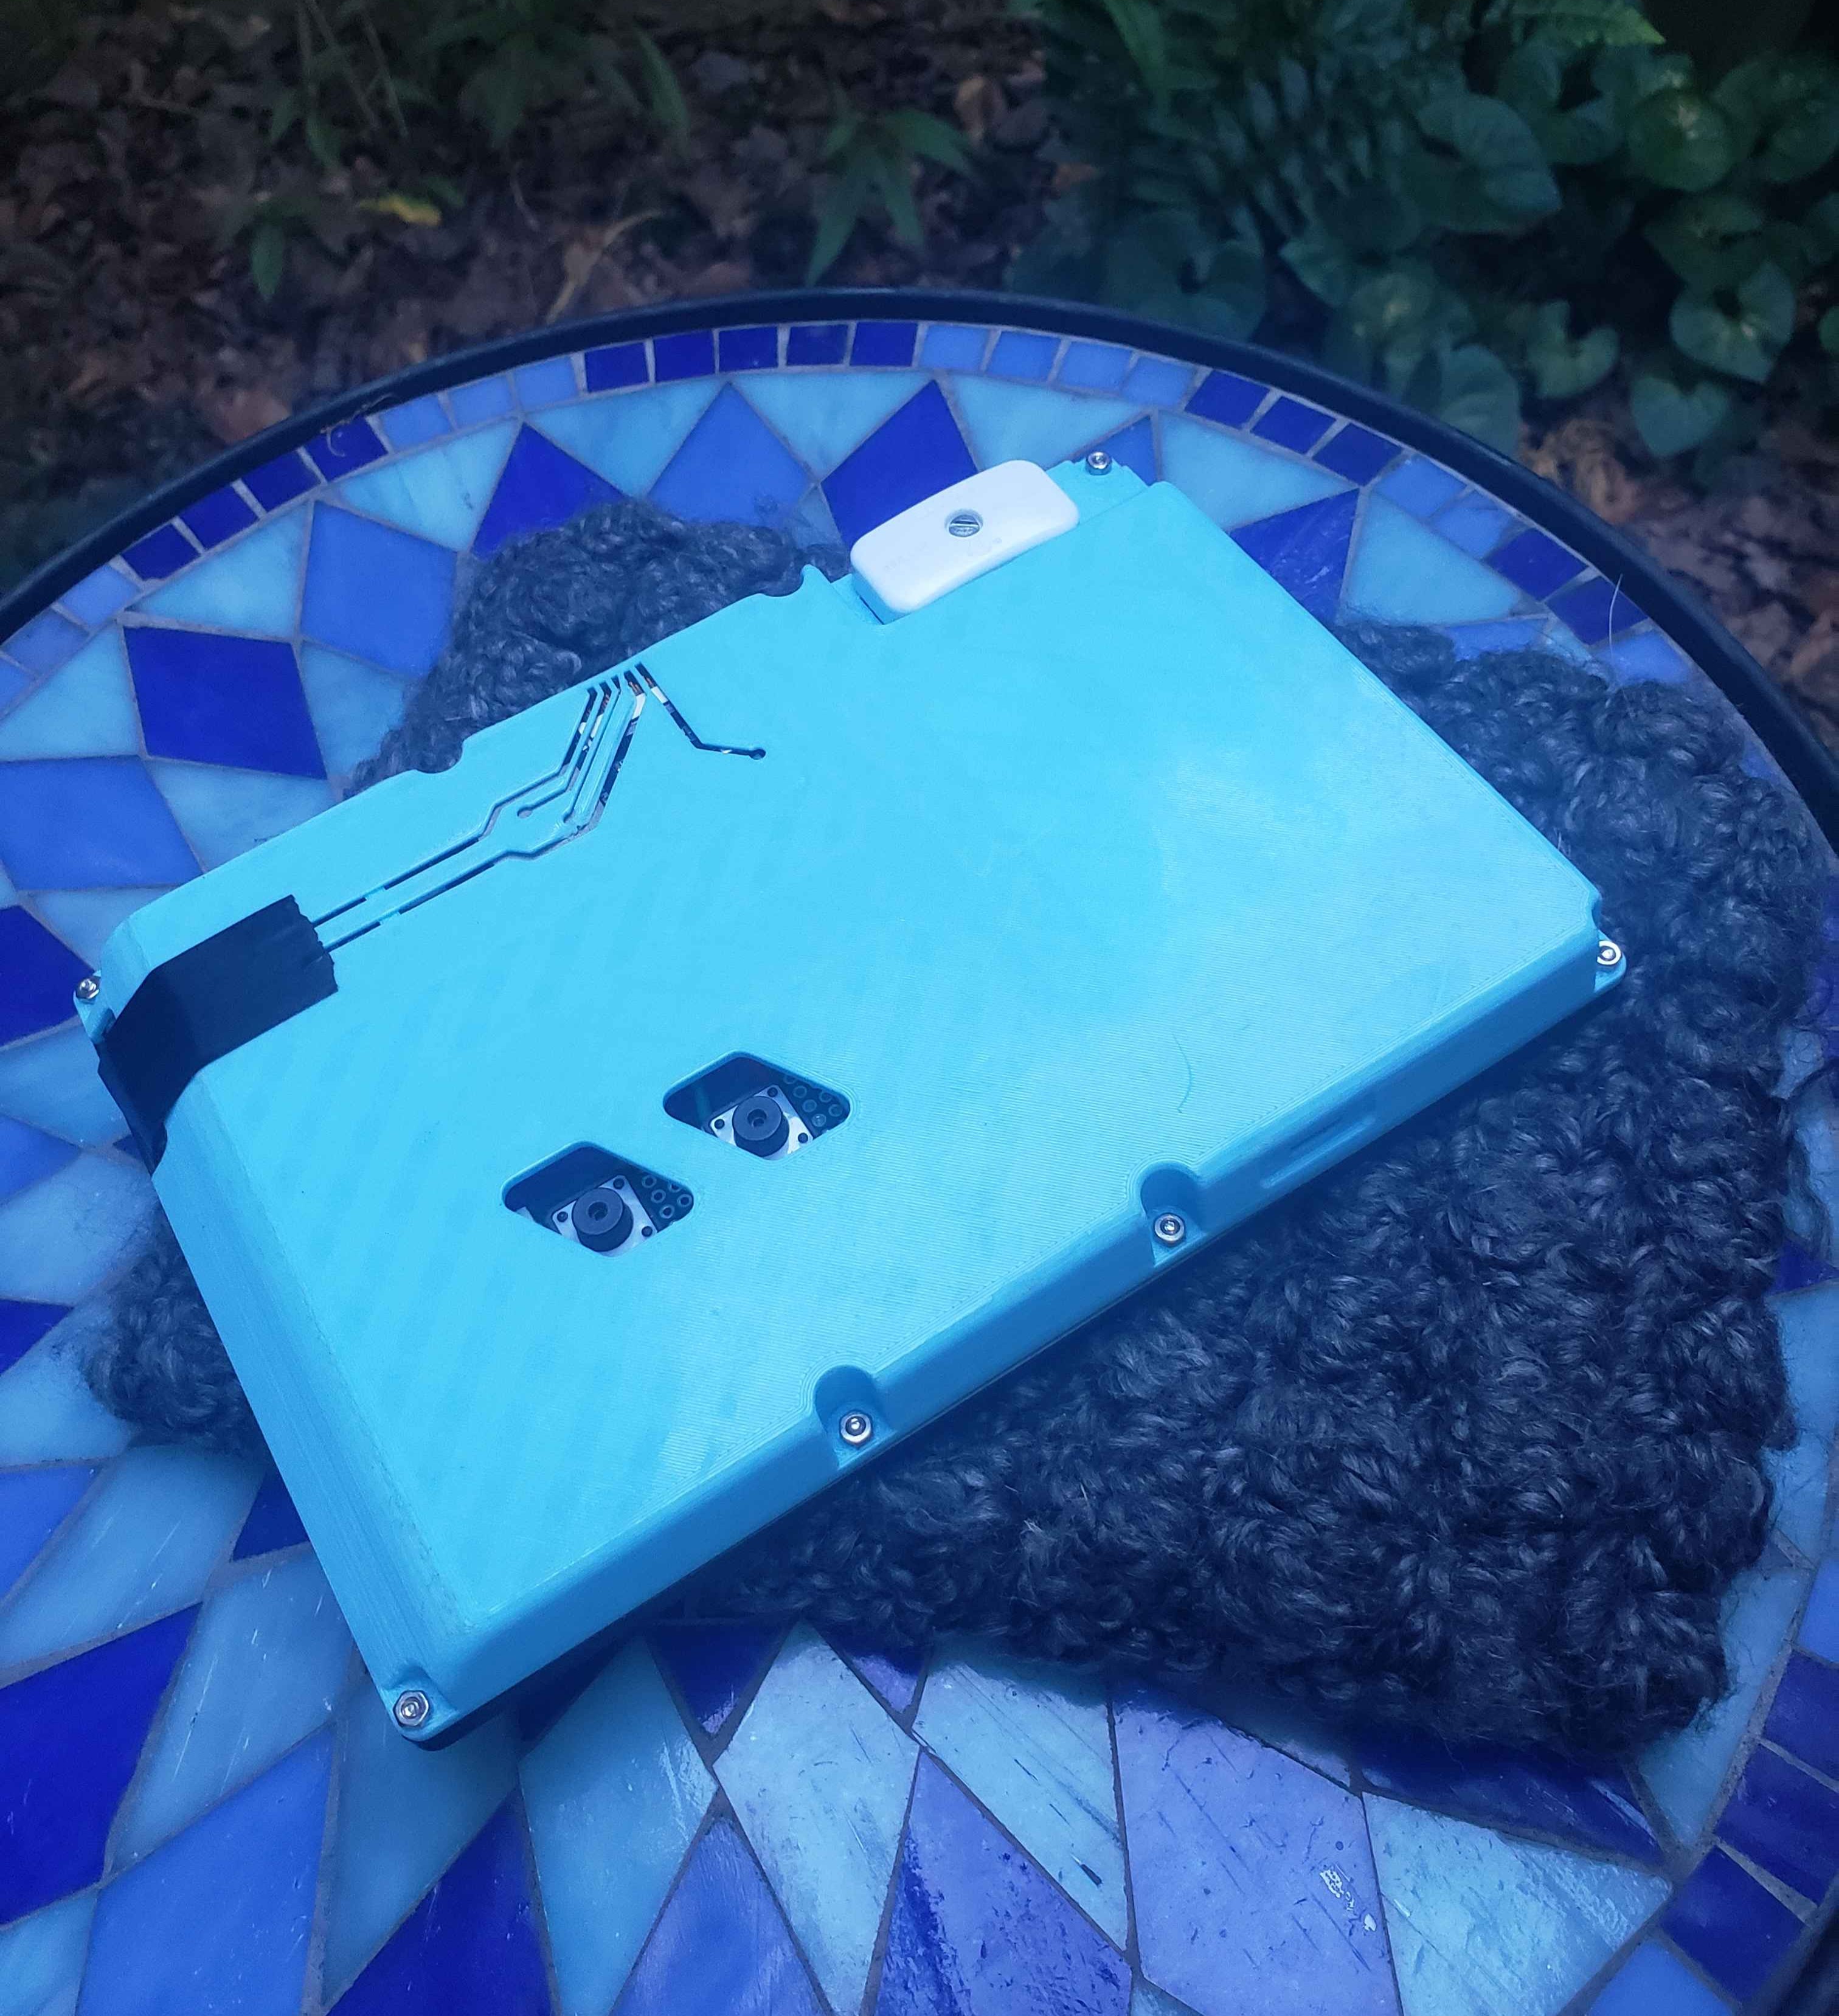
The back of my e-reader. You can see the cord switch, black electrical tape covering the microSD card slot, and exposed buttons that I have yet to print TPU switch covers for.
The hardware design is definitely where I said “good enough” to speed up development. I made it ergonomic enough to hold for long periods, put the buttons in a reasonably comfortable position, made it rugged enough to survive regular mishandling, and even put the effort into a circuit trace motif to show off the internals. However, the patchwork filament colors, electrical tape to stop protoboards from moving around inside, and missing switch covers belie the polished look of the first picture.
Software
I went through a few iterations of how I wanted to implement the actual book-rendering capabilities: onboard EPUB interpretation a la this post, off-device rendering but synchronous updating via the ESP32’s bluetooth / wireless capabilities, or translating to text off-device then rendering each page onboard from a text file. I spent a few weeks on each of these solutions, but they all had their drawbacks – either altering the EPUB formatting drastically, driving it further from the experience of reading a print book, or requiring me to use another device while I read. One of the core issues is that EPUBs are relatively device agnostic and use XHTML and CSS to format the text for each screen, and I’ll admit that I’m not quite comfortable enough with C and the ESP32 development environment to render each page onboard.
Instead, I went a different route. Since I’ll need to use a computer to get and load the EPUB already, why not just add one quick extra step and pre-render the pages? Rendering doesn’t need to happen synchronously, and in fact would be a little silly to do in this circumstance. The primary benefit of onboard rendering is minimizing storage consumption; however, each page only need 1 bit to set each pixel state, meaning 48 kB per page. In fact, Brandon Sanderson’s Oathbringer goes from a 102GB EPUB to <60GB as raw images!
So, I developed epub2images, a CLI tool to quickly take in the provided .epub file and spit out rendered images in the binary format the e-reader expects. This leverages Calibre, a FOSS e-book manager! Besides being a great app in its own right, it has a Python API you can use to convert EPUB files into PDFs formatted for any size and resolution display! I had to make a custom profile for this unique situation, which was nontrivial, but it allows for so much flexibility in rendering. I customized font size and family, margins, image rendering, pagination, etc. to best display on my platform. Once the PDF is rendered, I convert the PDF to images and then use pillow to dither and store each as a binary file. Dithering allows images to be viewed on the B/W display, but creates very slight text artifacting, so I made it an option to enable in the CLI.
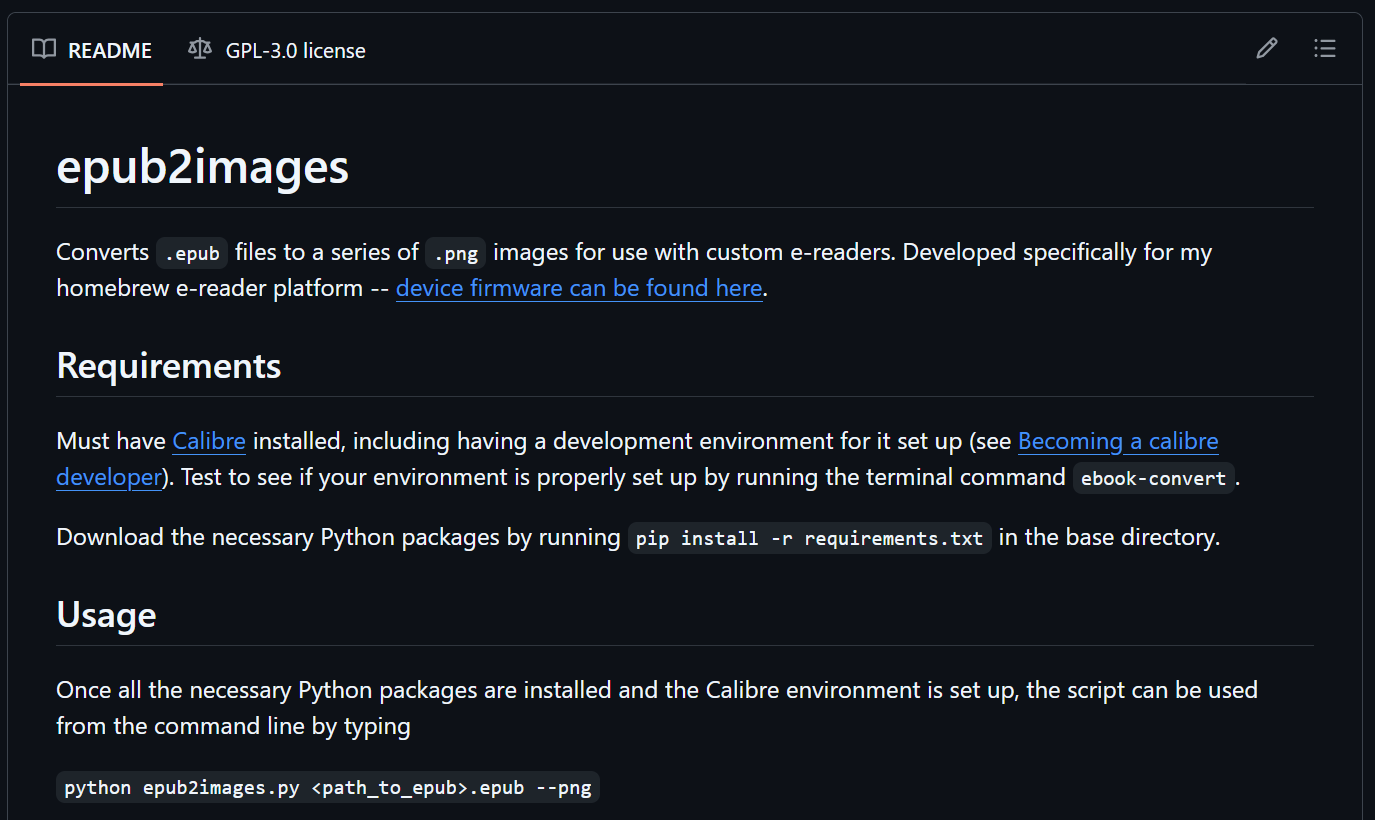
The README page for epub2images on Github
These files are then loaded onto the microSD card, along with a HEAD file to track current and last page number between power cycles. Then, the e-reader software takes over to manage to actual operation. It’s relatively simple, with only the ability to progress forwards and backwards one page at a time. Luckily, that’s typically how I read a book. The only functionality I feel like I miss is the ability to flip back and forth between maps or dictionaries in the front of the book that are relatively common in sci-fi or fantasy. In these rare circumstances, I break out my phone. I’d like to add the ability to make bookmarks and flip between the bookmark and your current page, and I think that is possible with the current hardware design and software tools. The primary innovations on the e-reader side are efficiency improvements to the existing driver tools to speed up page display slightly, and making the code robust to power cycling or faults.
Ultimately, I think this division is reasonably intelligent and non-intrusive: the time spent on the computer side uploading the book doesn’t change much when compared to other open-source options, and the computation on the e-reader side is incredibly lightweight. Once I address the power management chip quirk mentioned below, I think there’s no reason the battery wouldn’t last for weeks. You also get all the benefits of a well-supported and feature-rich tool like Calibre to generate pretty pages! And since I want this device to be totally offline, I don’t need the ability to download books directly to the device like a Kindle (though you may feel otherwise).
Issues (Open and Resolved)
Some issues I ran into during development that I think are interesting to note:
- The microcontroller would lose power ~30s after booting when powered by the battery. Apparently the power management chip on the 5 Below battery requires a minimum current draw to keep power switched on, which wasn’t met when the ESP32 was idling between page updates. so I did the math and added a couple resistors in parallel to keep chip happy. This is a gross solution and it’d be much better if I had chip that could handle lower power draw, but the battery still lasts >30 hours (conjecture) before dying.
- I dropped it down a steep slope at the Red River Gorge once on a climbing trip, which tore the display’s ribbon cable. I had to order a new display, which subsequently didn’t work. It turns out, they updated the wiring order in the ribbon cable without telling anyone! They just quietly updated their driver boards at the same time, so my old driver board didn’t work with the new display. It took me WAY too long to figure that out; luckily, the solution was to just spend $20 more and solder in the new board. So always order these in pairs I guess, or design your own board and check the interfacing document for updates if you get a new display.
- To display images on a purely black-and-white display, you need to dither them. However, just dithering the final image results in some minor artifacting of the text. This bothered me immensely and I put a ton of effort into trying to fix it (i.e. only dithering the images and leaving the text alone), but I couldn’t find a good way to achieve that. You can’t dither prior to rendering the EPUB, since the images get resized drastically to fit your screen. And after it’s a PDF, you can’t easily separate the two! The best place to do this would be after it’s been rendered to screen size but before it’s saved as a PDF, which would happen somewhere within Calibre that is just too difficult to implement for me. I also tried alternative dithering algorithms to no avail. This goes in the category of “just live with it” for me; if the text bothers me too much I can always just disable it and deal with the ugly images.
- The internals and case are still very much prototypes. All the electronics are on protoboards making the thing way thicker than it needs to be, components are just sort of wedged inside (necessitating some strategic electrical tape), and the ergonomics of the buttons could be improved.
Demonstration
Future Plans
I’ve been putting a lot of mileage on this since I finished it basically in its current form a year ago, but I did some tweaks to the display formatting and added pagination immediately prior to this blog post. It’s super nice to have a functional e-reader, and I really have no big issues with it! There are several things I’d like to improve, mainly surrounding the unfinished appearance of the back, but it’s basically done. I think in the future I’m going to do a v2 where I design a PCB for all of the internals so they’re not just floating around in there; if I do that, I can fix the power draw quirk and slim the whole unit down by probably a centimeter in thickness. I’ll try to post the STEP files for the case if someone wants to recreate this project exactly; otherwise, all my code is on my Github if you’d like to do this yourself. Feel free to reach out to me using the contact info at the bottom of this page if you need help adapting my work or have questions about it. I’d love to hear about anyone trying this for themselves!